 Friction Tamer
1. Create or open a project
Start FTVS and create a new project, or open an existing .ftproject. The project file stores the production recipe; downloaded media, narration and outputs live in the project workspace on your PC.
2. Add and inspect sources
Open the Sources tab and add a web source or local media. For long remote videos, use source scouting and scene analysis when you want to identify useful moments before downloading full-quality footage. Once the timeline uses exact ranges, Download Required Footage can fetch only the ranges the edit needs.
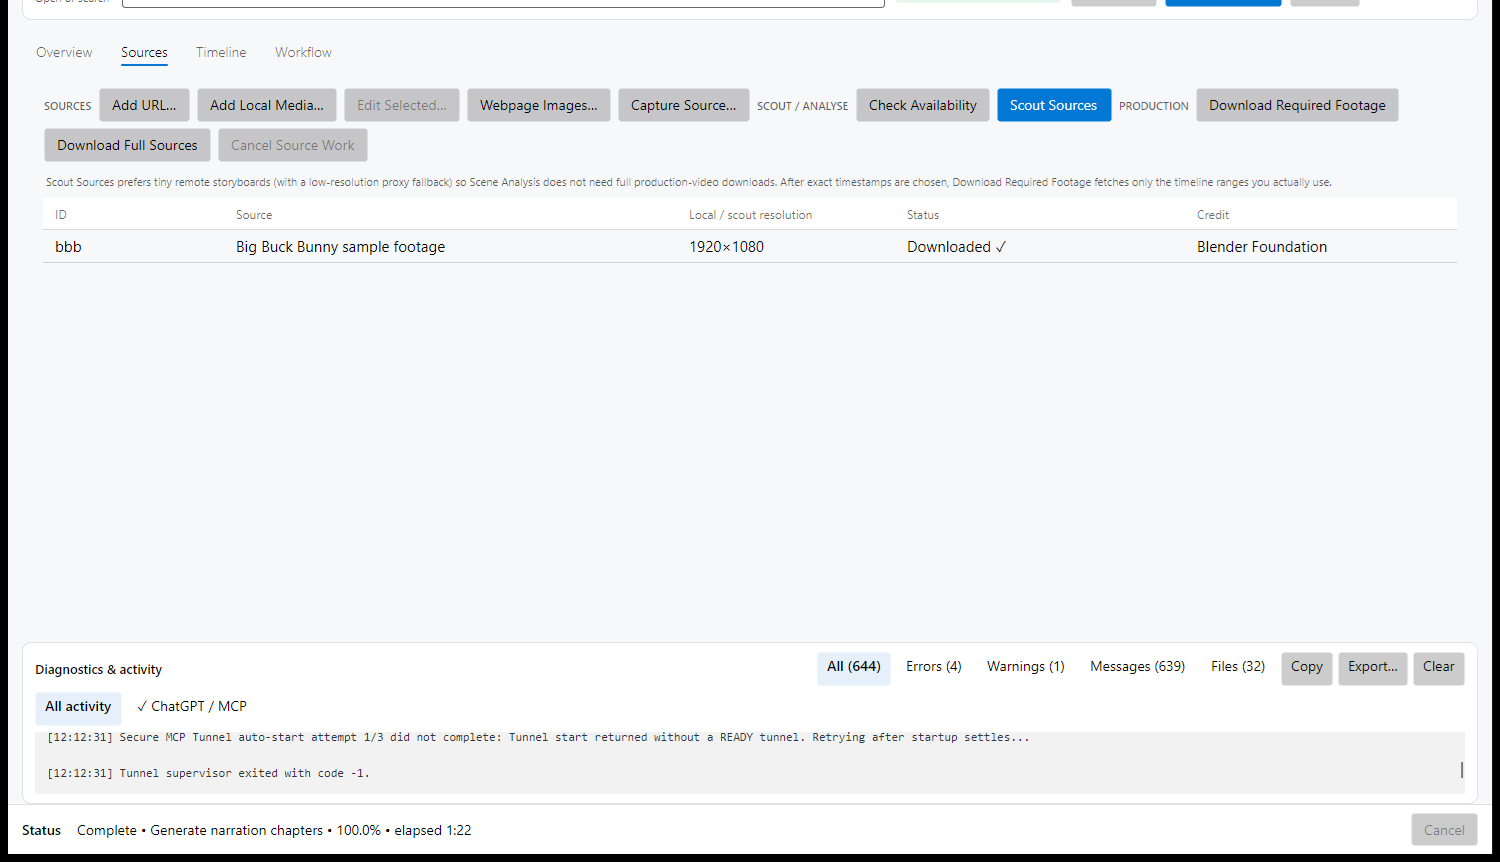
Real FT Video Studio interface
This screenshot was captured from the actual application using a disposable sample project, not a mockup or reconstructed interface.
3. Build the timeline
Use the Timeline to arrange source ranges, cards, overlays and other supported visual elements. FTVS keeps source timestamps and timeline timing separate, so you can change which moment a clip uses without losing its position in the edit.
4. Add narration, audio and subtitles
Use Narration Studio when you want generated or managed narration. Project Audio & Subtitles controls narration, SRT, source-audio defaults and background music used by builds. Timeline-level audio overrides can turn source audio on or off for individual clips.
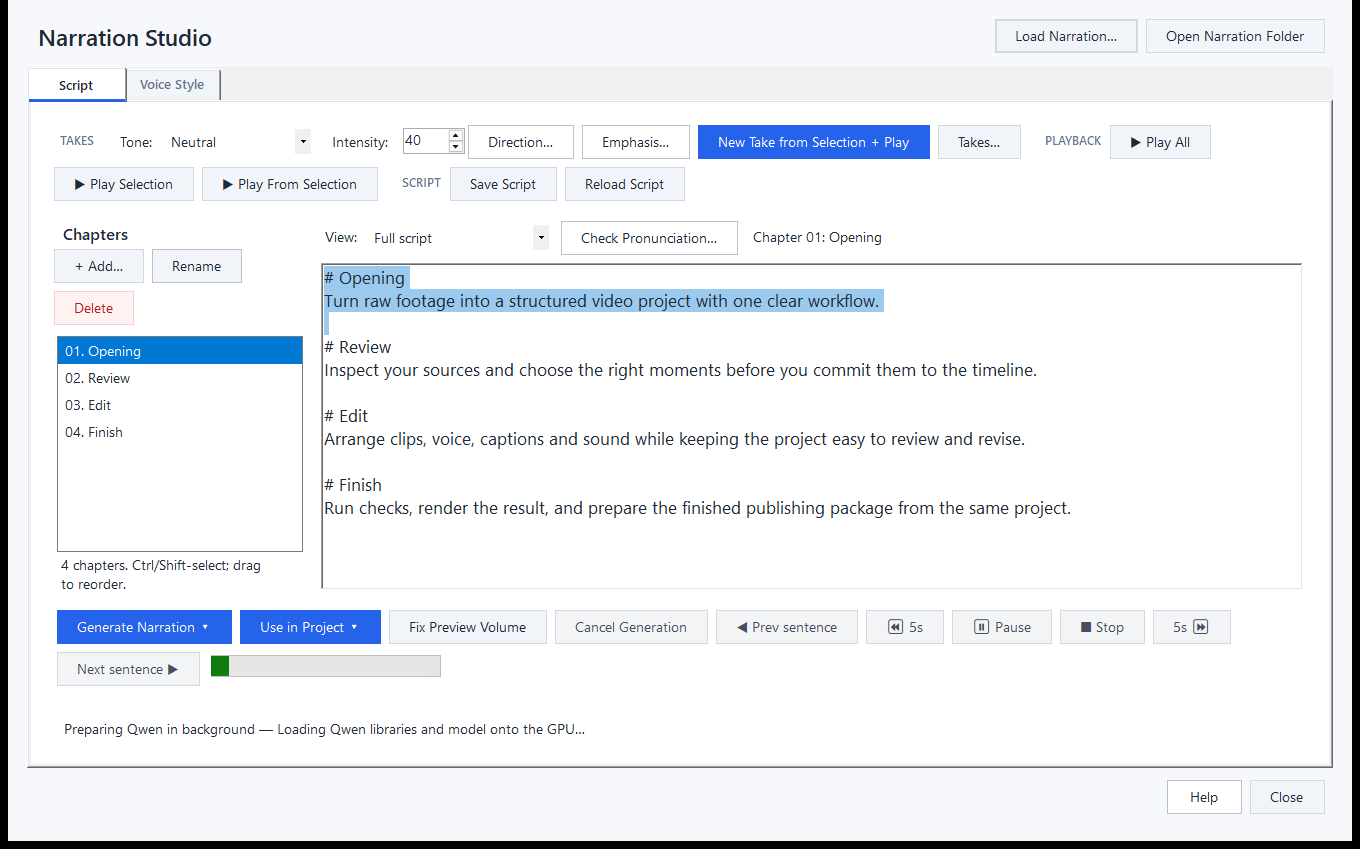
Narration stays part of the project
Generated takes, timing work and subtitle output are handled in the same production workspace rather than as a separate throwaway step.
5. Review without waiting for a final render
Use Live Cut Preview for a fast no-render review of source ranges and the current audio mix. Use Build Preview when you want the real encoded transitions and output path. Fix the sections that actually need attention instead of rebuilding the production from scratch.
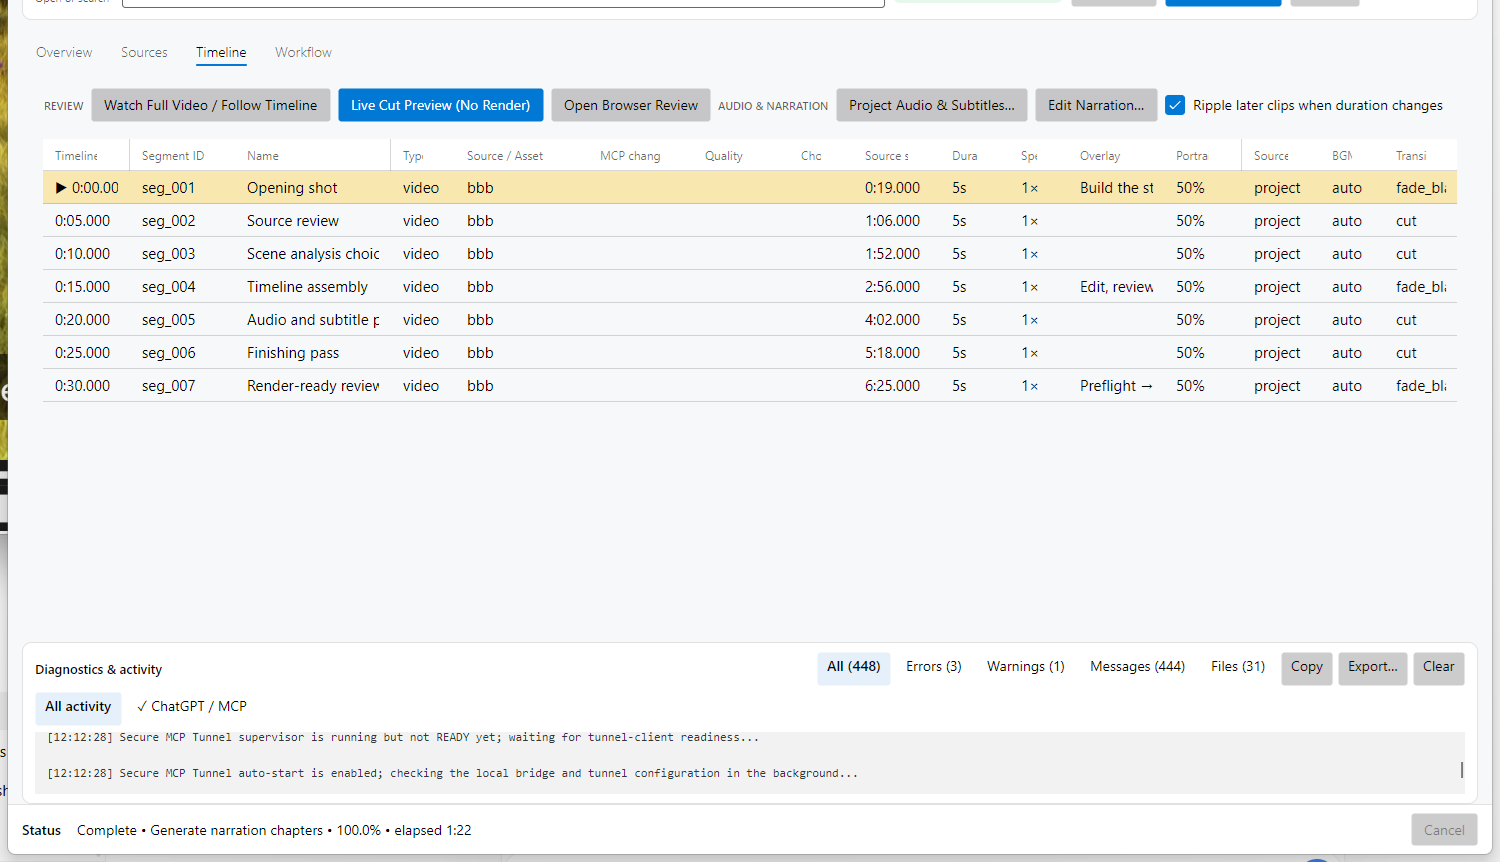
Timeline + Live Cut Preview
The preview follows the actual project timing and lets you inspect the edit before committing to a full-quality render.
6. Run technical preflight
Before the final build, run Technical Preflight. It checks render readiness such as missing media and timeline problems. Treat it as the final mechanical check; creative approval still comes from reviewing the video.
7. Render and prepare publishing
When the project is approved, build the final 1080p or 4K output. FTVS can also prepare publishing information and thumbnails so the release package stays connected to the project.
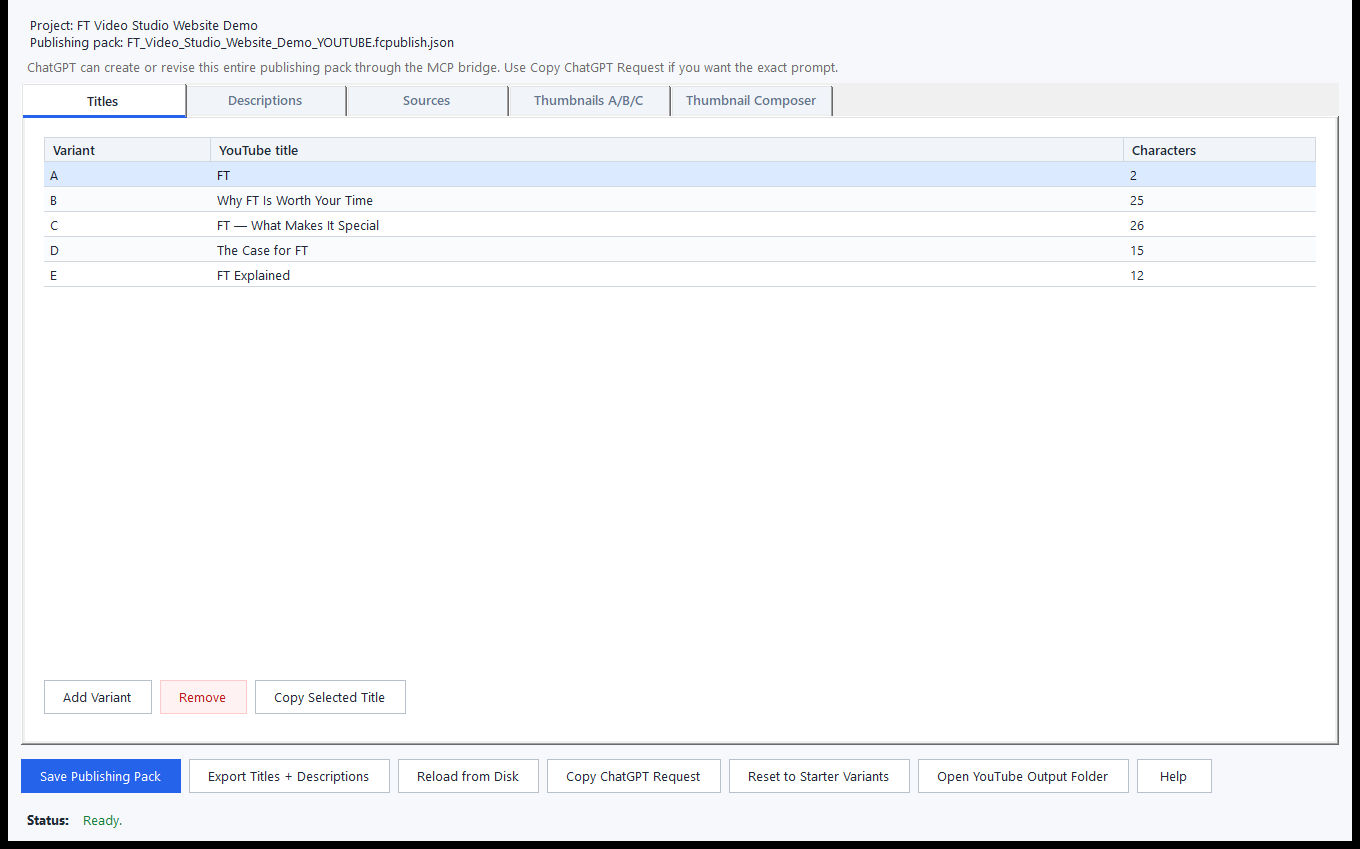
Publishing workflow
Use the publishing tools after the edit is finished to prepare the information and assets that travel with the rendered video.
Ready to try FT Video Studio?
Use the full Pro feature set for 30 days with no card required. After the trial, FTVS Pro is €29.99 once - no recurring Friction Tamer subscription.